
New accessible shower
For my 69th birthday, I embarked upon a major home redecoration/rearrangement. The whole idea was sparked by a piece of artwork I saw online (that’s another story that is coming — look for “Crimson Rose”) and purchased. Putting up that first piece of new artwork changed my whole mindset — letting me realize I could control my environment to improve and enhance my mood, as I learn to deal with my new widowhood. This rethinking and redesign includes a major remodel of the bath area in my home.
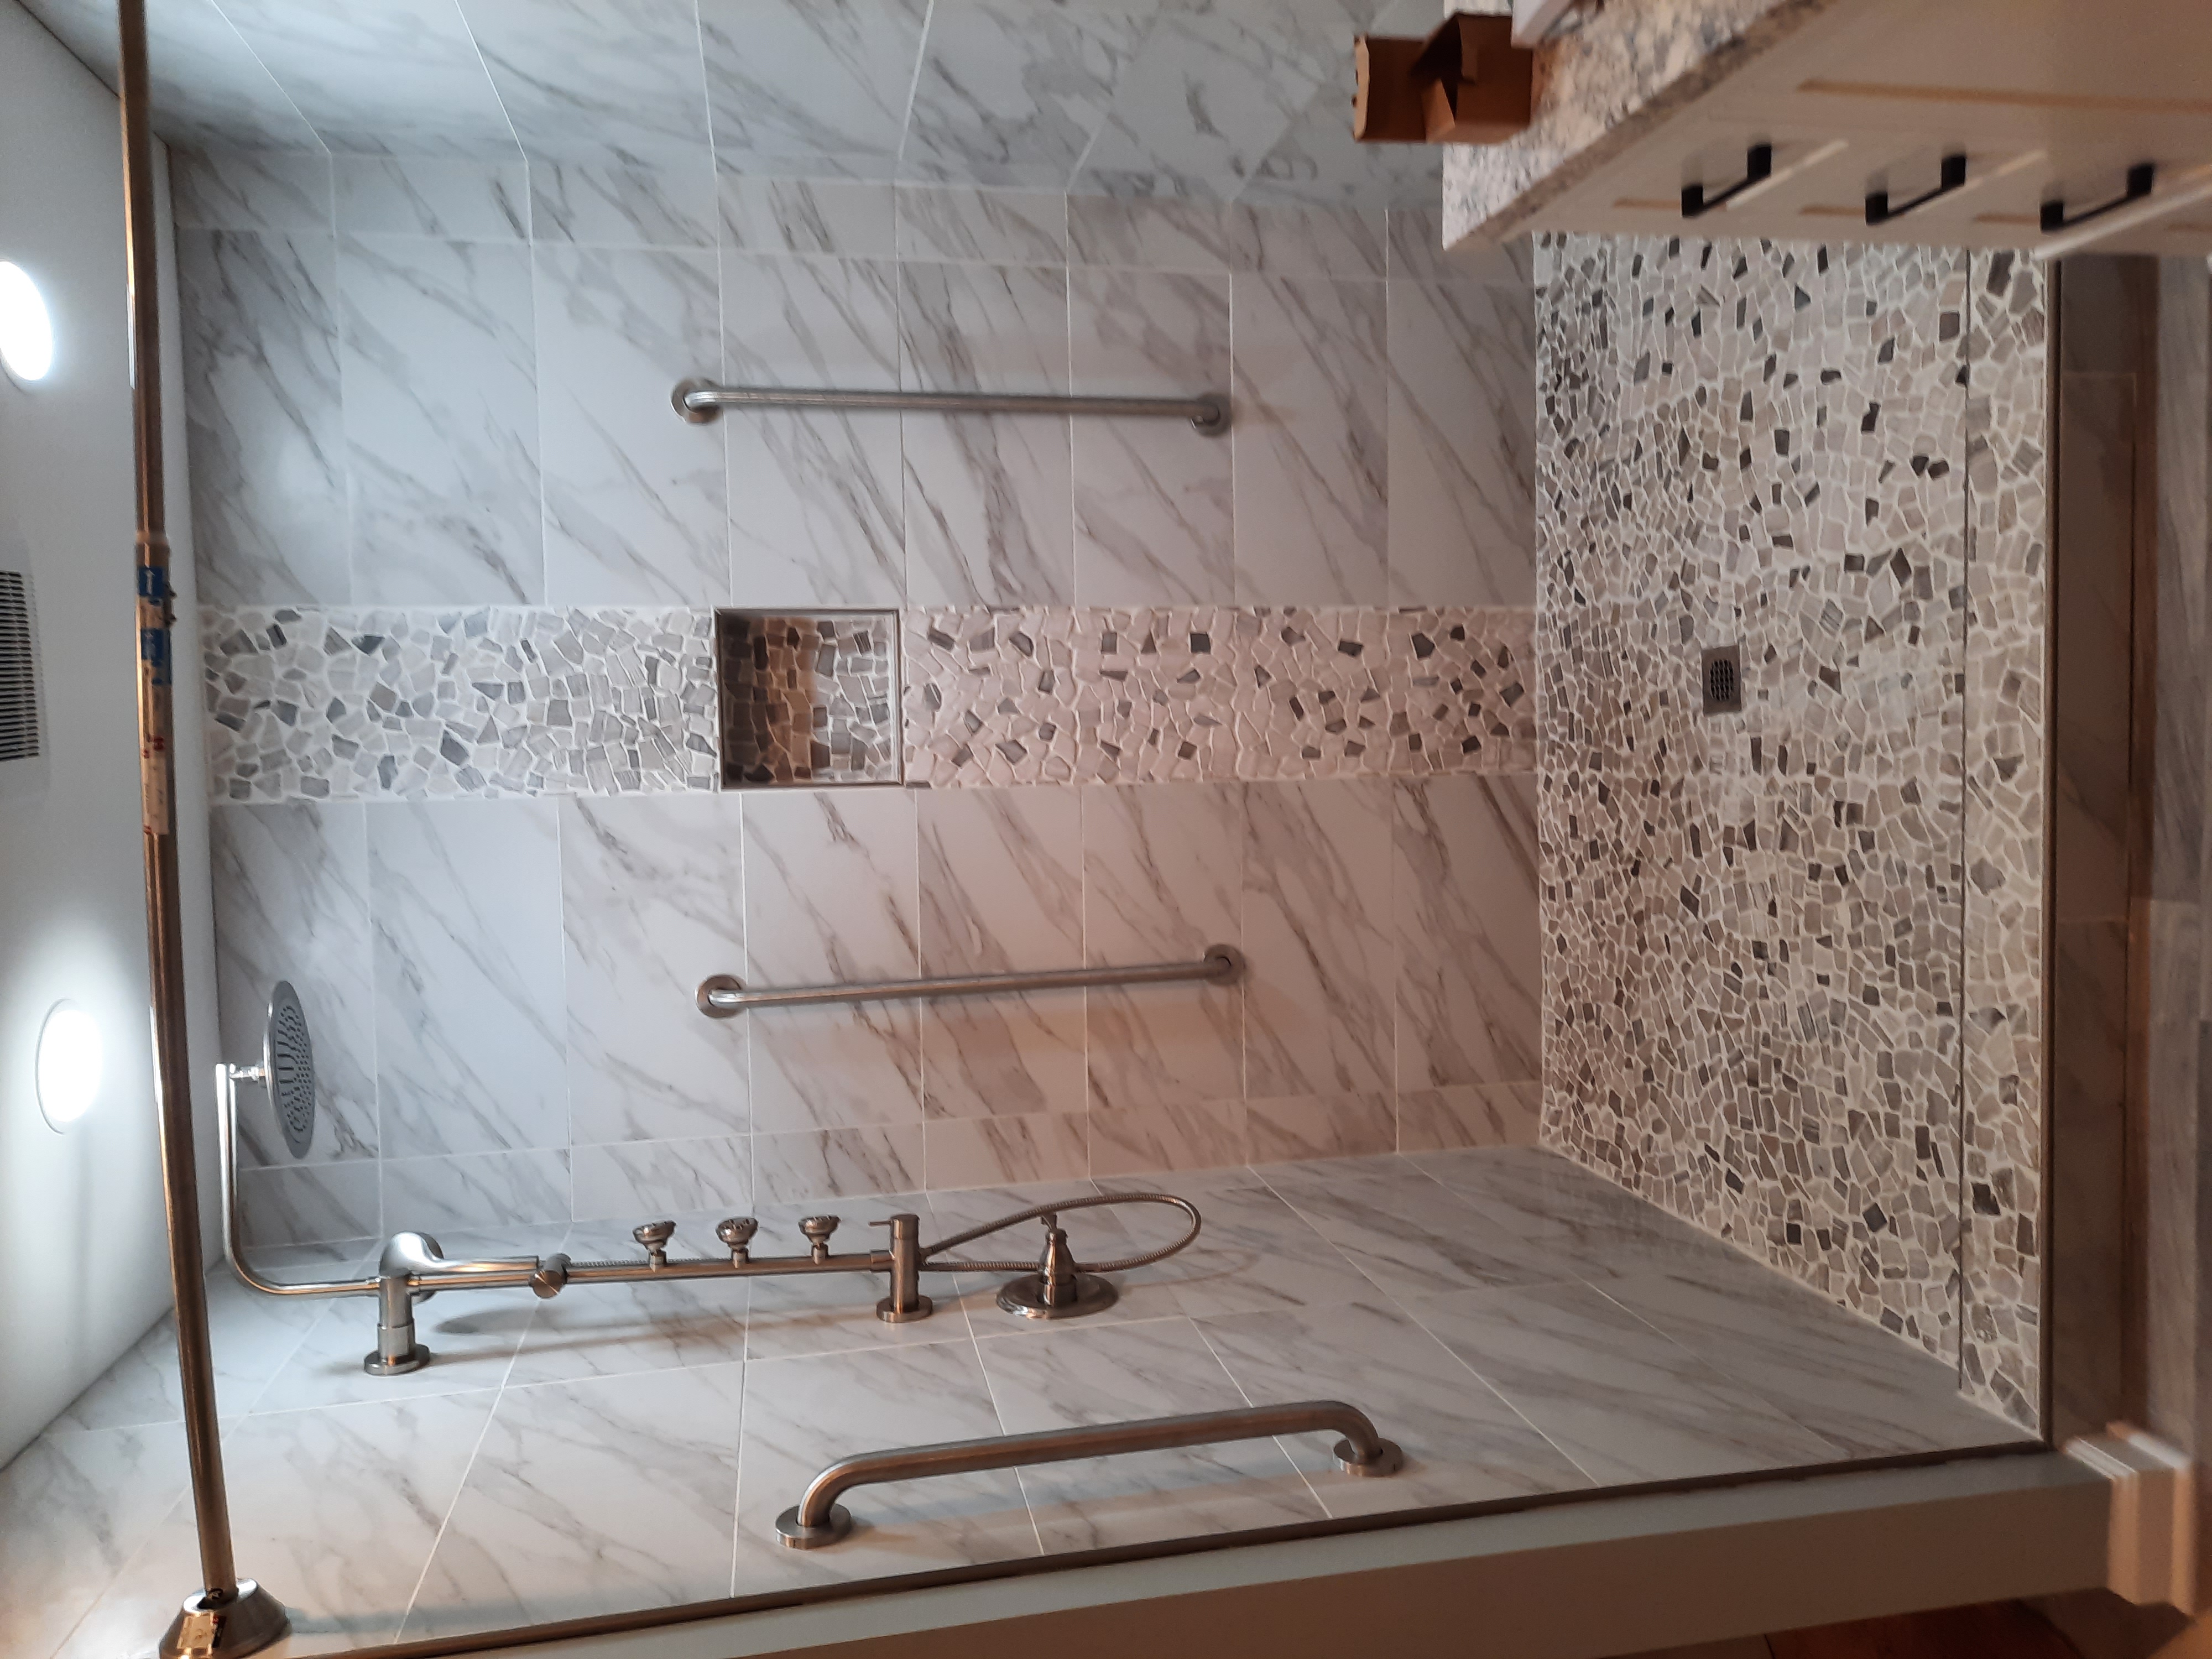
The original downstairs bath area included a tiny stall shower, a tiny vanity with a shallow oval basin, and a huge hot tub that I never used (and in fact due to my medical implants, am never supposed to use). Those had to go! The first and most critical part of the big bath remodel was putting in an accessible shower. This 4’x6′ space was once a 4-person hot tub, with a row of wall-to-wall steps to climb in. Used only once since I bought this house years ago. it was a big waste of space. I wanted a much more usable option that would accommodate future medical needs. But, since I am an artist, a key in all my remodeling choices is that functionality can be beautiful!
It is inescapable that with age and disability come the need for more space (for example, so that a home nursing aide has room to assist if needed). Things like grab bars and non-slip surfaces become primary considerations, along with the need for accessories like shower chairs and/or stools. For some people (including me), glass doors are too restricting to use for access. So, every option picked for this remodel was done for a combination of reasons that include accessibility, safety, ease of cleaning, and esthetics! No reason functional should have to be boring.
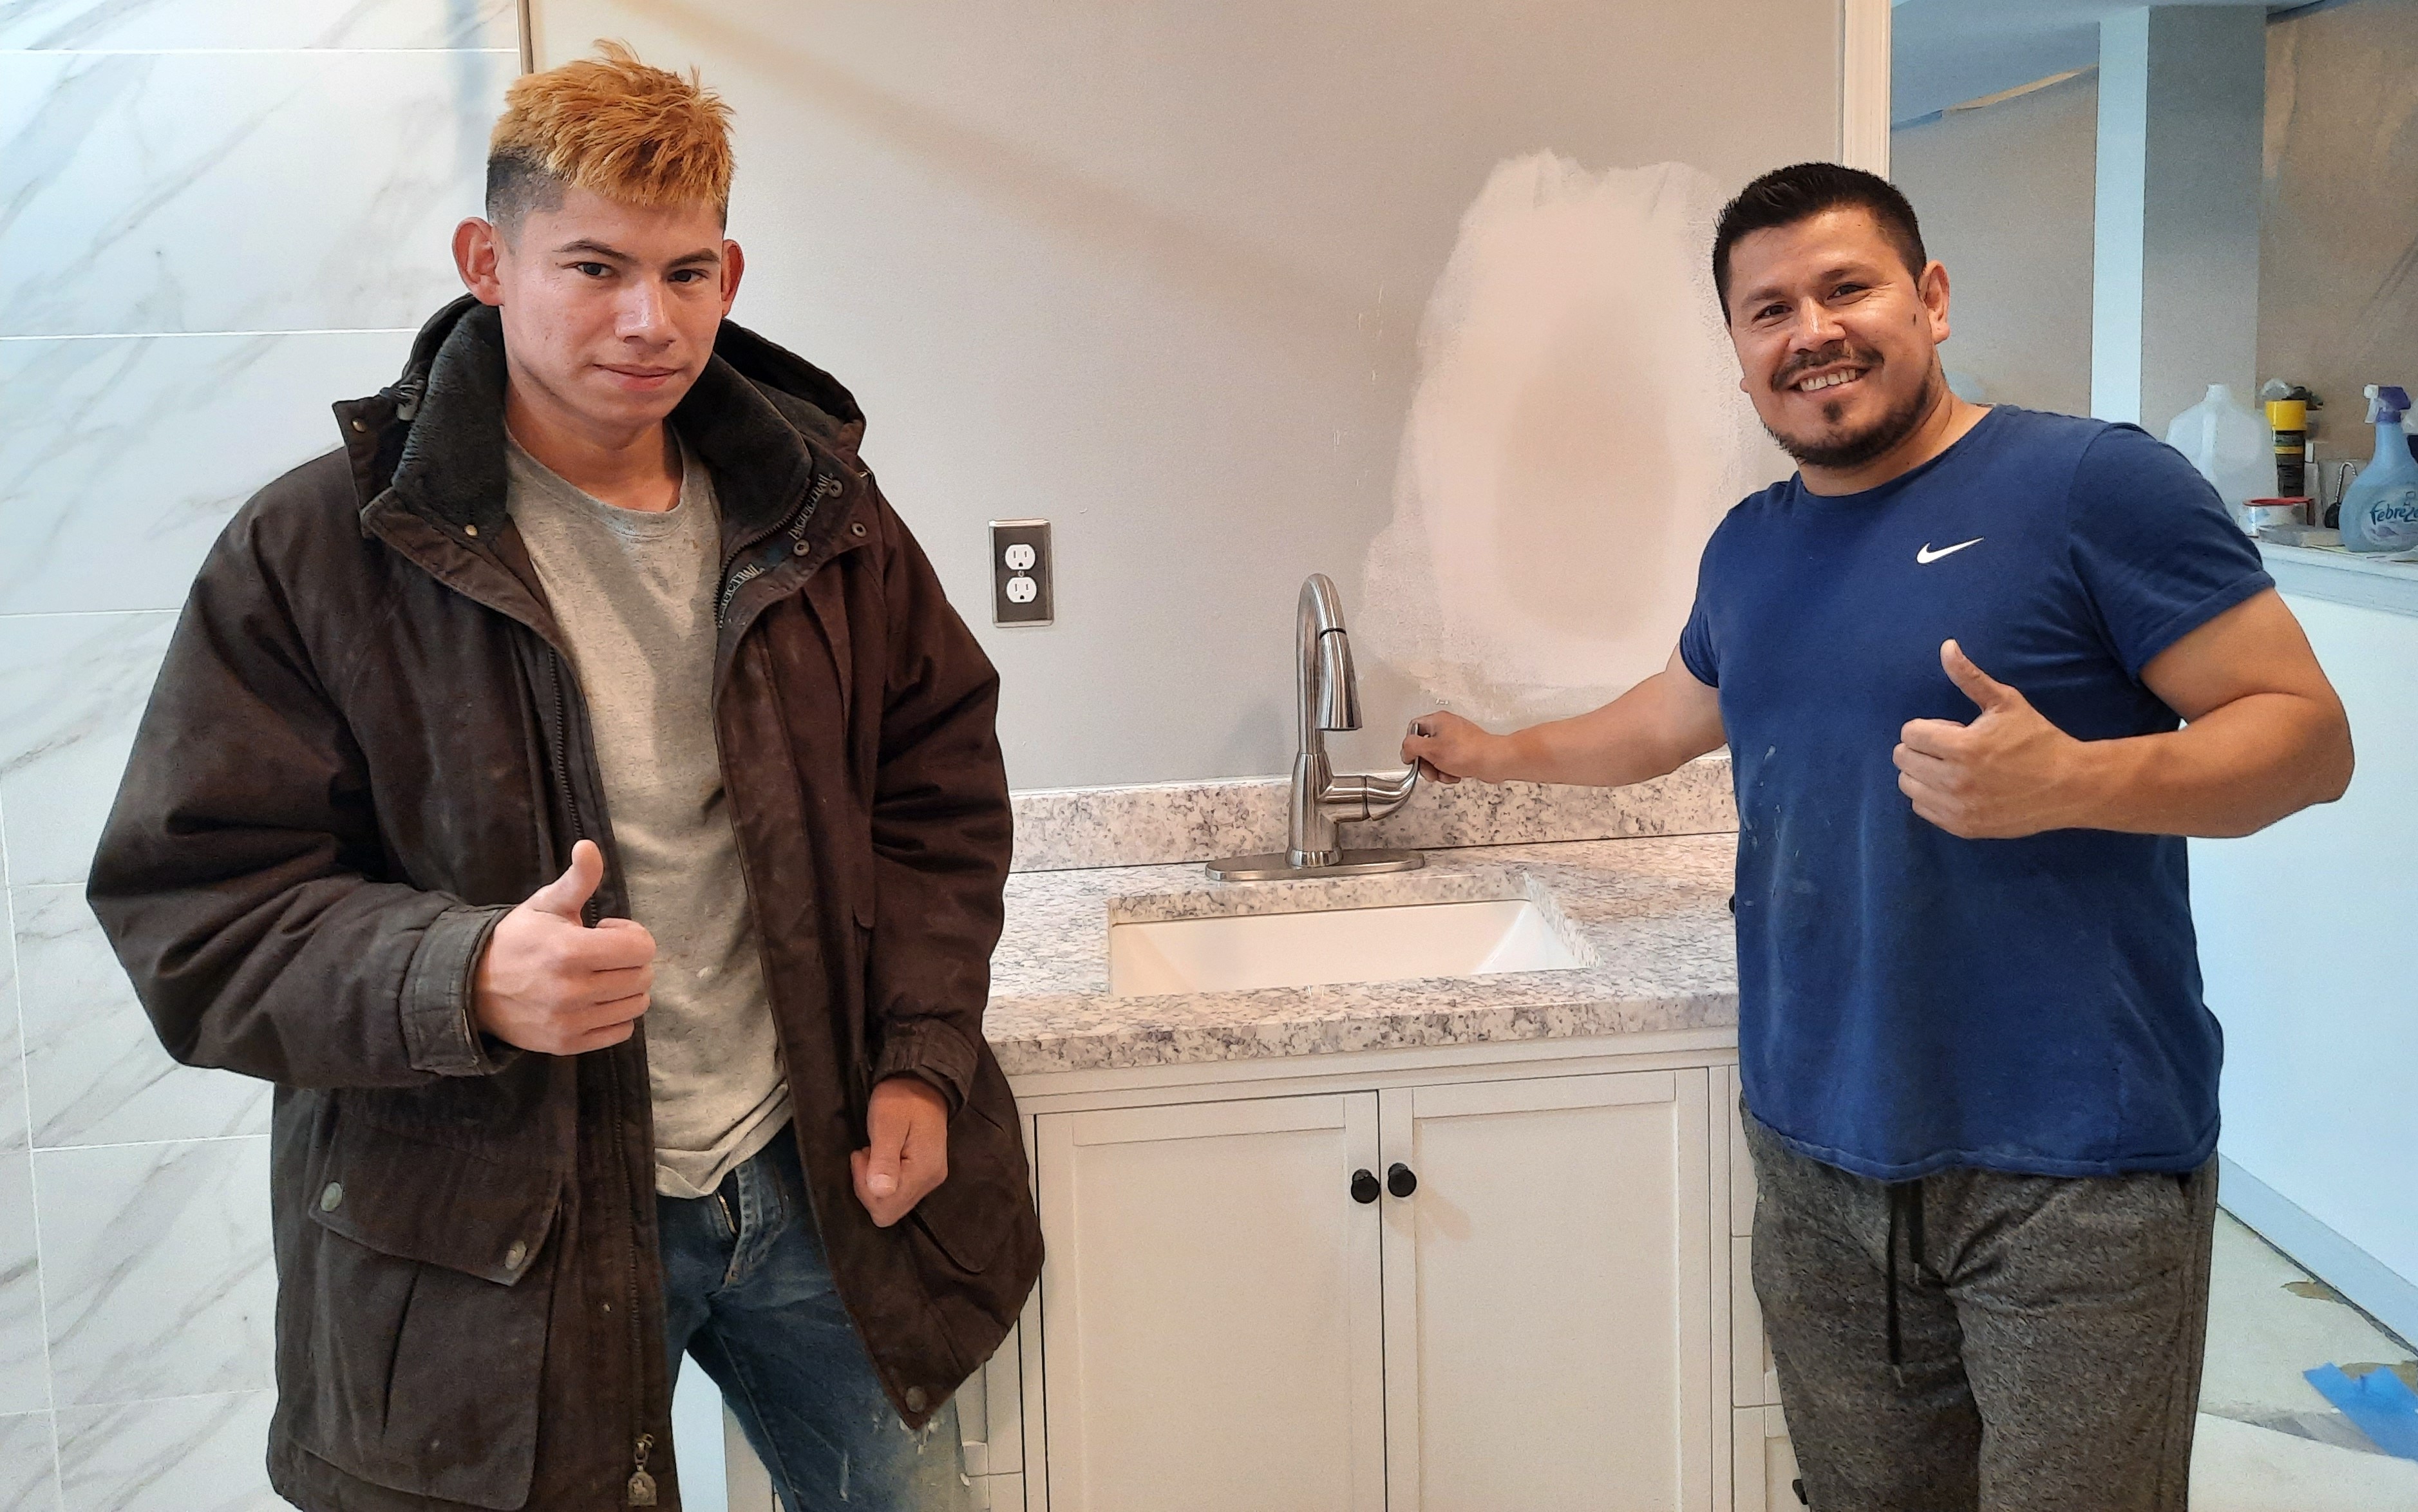
Team Galdamez — see instagram.com/supergaldamez
From the ground up (literally–the team had to jackhammer old concrete to install a new drain!), the project started with selection of a pebbled floor tile. The pebbled tile gives some texture, so that the wet floor is not slippery. Home improvement stores (most of my stuff came from Home Depot) offer a variety of pebbled tiles, mostly in neutral colors. Shop with care. Some tiles with this look are just flat slices of rock or marble–those give the same look, but don’t have the texture I was looking for to provide a non-slip surface.
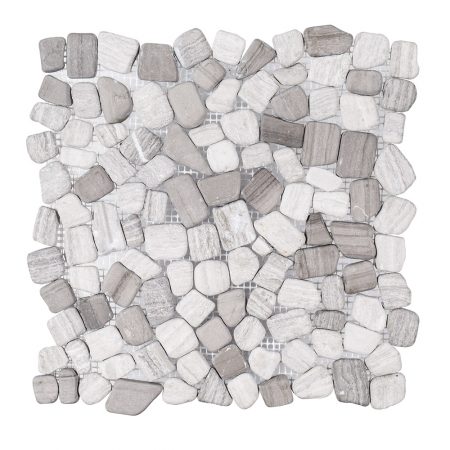
Jeffrey Court brand, Bailey Grey Pebble Tile
Because several people have told me they are in the midst of planning their own accessibility remodels, I’m including info about products I used. This is the tile I picked for the shower floor. It is Jeffrey Court brand, Bailey Grey Pebble tile. I had originally selected a different tile (from the same company) that had some darker pebbles, including brown tones. Changed to this because of better availability/faster shipping. That tile change resulted in switching to a different sheet vinyl for the room flooring. So glad that happened, because I just love the new vinyl, AND it was less expensive than the original choice.
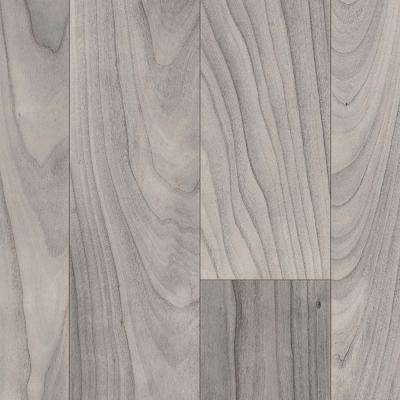 The final vinyl is Trafficmaster Grayson Wood sheet vinyl, shown here. It is usually available in stock for low prices, and is a nice, thick product. In addition to the bathroom, I’m having it installed in my adjacent art/craft room, which previously had only a small vinyl area (with the rest carpeted — not so good when working with glue, paint, beads, etc.).
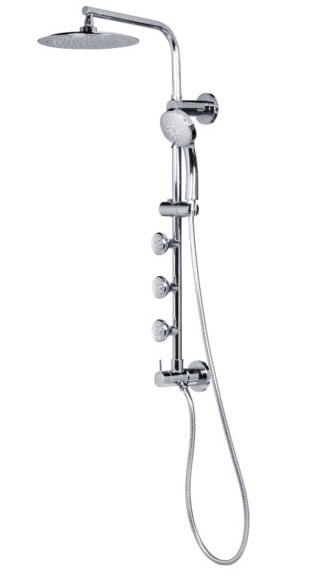 For the shower itself, I decided to go with a fancy, spa-type fixture. I found a combo from Pulse where ONE fixture combined a “rainfall” type showerhead with a handheld spray and three directed body spray nozzles. It is possible to relax under the “rainfall” and still have jets massaging your back. Or you could sit on a shower chair and use the handheld spray, with or without the “rainfall”. There are grab bars installed on each side of the shower, and an extra one to aid in stepping over the shallow threshold.
Making all these changes was not simple. The first step was a lot of clearing stuff out and de-construction. In the process, the contractor found that the preexisting ceiling fan was not properly vented–it just went into the space between the ceiling and the kitchen floor above. Good thing I hadn’t been using that fan to vent moisture! He routed a new vent to the outside and put a protective cage over the exit flaps to keep birds from getting in when the vent was open. Making sure the drain was properly placed for the shower required busting up the concrete floor under the old hot tub, then repouring a small section. For the beauty aspect, he added a run of pebble tile up the shower wall, highlighting a niche shelf for shampoo, etc.
The contractor really showed his awareness of accessibility concerns by spotting an issue I had forgotten about–the door that led from the bathroom to the bedroom was only 24″ wide — too narrow for me to use with a walker. I remember how awkward it was after surgery to push the walker through that narrow opening sideways while hanging on to the door frame for balance. He widened the doorway and put in a 32″ door, matching the other entrances, and pushed back another wall to match. It really opened up the space.
The other accomplishments in this first stage including adding extra electrical outlets, removing unnecessary switches, and replacing the old standard height toilet with a “chair height” toilet. The height change really makes a difference for folks with mobility issues. There had been a “booster seat” on the old toilet, but it never felt stable (and that combination made cleaning the bathroom more difficult). Got an extra grab bar installed on the wall beside the toilet as well. The new toilet is a “powerflush” model — the ads show it flushing a set of pool balls LOL. Sure beats the old model with the jiggly handle that often took multiple flushes. It has a “skirted” base (instead of being shaped like the pipes inside, the base just goes straight) which also makes cleaning easier.
There are still some minor items to be completed in this space — installing mirrors and outlet cover plates, and some minor paint touch ups. Next blog installment will include the vanities, sinks and décor items. Coverage of the decorations will include profiles of the artists whose work I’ve chosen for this space. Meanwhile the remodeling team moves now to the adjoining room, where they are doing new flooring, and installing base cabinets, including a small bar sink (so I have a convenient place to wash out my paintbrushes).